
My boyfriend is a life-long Zelda fan. To the point that he has a Zelda-related tattoo…The Triforce. Hence my decision to make him a Triforce pillow.
Originally I had planned on this being a birthday gift, but of course, I am a procrastinator and I missed the deadline. Instead…he got a Valentine’s Day gift this year!
The materials were few: a pillow form (I used 18″), hunter green fleece, yellow felt, and matching thread for each color. Tools needed: cutting tools, measuring tools, a sewing machine and paper (to serve as a pattern for the triangles).

I prefer fleece to make pillow cases because 1) its softer, and 2) it has a stretch that’s a bit easier to shape in the end. For the “shapes” I prefer felt over fleece because it WON’T stretch (as much) and is less likely to get distorted while sewing.
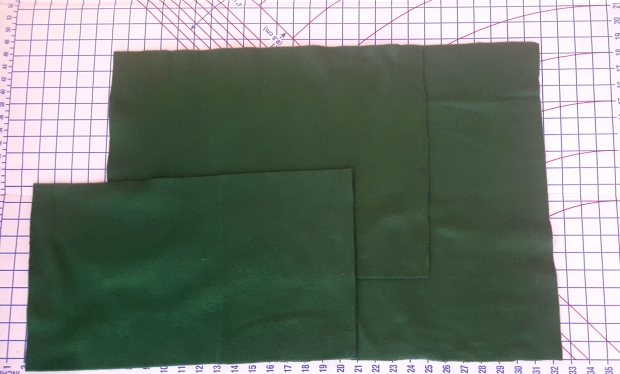
I wanted to keep it simple and opted for an envelope closure for the pillow, meaning the back would consist of two overlapping pieces….it also means you don’t need a zipper or buttons. I added a bit more overlap than I probably needed just to be safe….(you can see the 3 pieces in the picture above. From right to left is the front, the back top piece, and the back bottom).
Next up: The Triforce!
In this case it was super easy laying out and cutting the Triforce….after all, its 3 equilateral triangles. How hard can it be??? (Its not, just remember to make them truly equilateral….which means the overall height is NOT going to be the same as the width. Oops. I missed that on m first attempt.)

Once I had my paper pattern I used a rotary cutter to make sure all my lines were extra clean…I don’t know about you, but my scissor work can get a little ragged…

Another word to the wise: Iron your fabric beforehand. Not only do pictures come out better, you ensure you’re laying everything out correctly. (I lightly ironed the felt after I cut it out.)
Cutting: simple. Layout…..slightly trickier. I always struggle a little to keep shapes perfectly aligned, and when you’re trying to match these tiny points with a fluffy fabric it doesn’t always turn out right. However, I’d say I did pretty well….

I stitched the outline of the larger triangle first, leaving the inner triangle last.

Once that’s done, its ready to become a pillow!
I laid the “top” section first (because I wanted that to be on the outside once I flipped it inside out), and the “bottom” section on top of that…

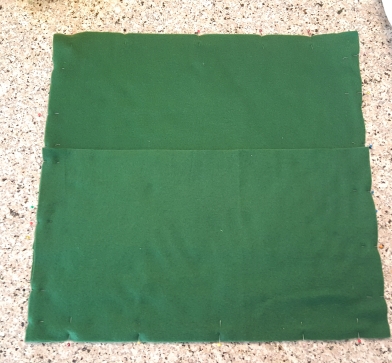
Sew around the border (1/2″ seam allowance), clip the corners, and flip!


I’ve got myself a pillow!


Er, I mean….the boyfriend has a pillow…


Cool! My sister loves zelda too.
It came out so great!!